CIS 5650 - Setup instructions for your Windows PC
Setup your Windows 11 Computer
Follow this guide to setup your personal Windows computer.
This guide assumes that you have admin access to your computer.
- Download and install the latest NVIDIA GPU Driver for your GPU.
- Download and install Git.
- Shehzan’s preferred installation options (other than defaults):
- Adjusting your Path environment: Select
Use Git and optional tools from Command Prompt. This option allows you to use Git from both Git Bash and Command Prompt. - Configuring the line ending conversion: Select
Checkout as-is, commit as-is. Shehzan uses this option because he also changes all his preferred editors to use Unix line endings. If you do not want to change your editors, selectCheckout as-is, coming Unix-style line endings. - Configuring the terminal emulator to use with Git Base:
Use Windows' default console window. - Configuring extra options: Select
Enable symbolic linksin addition to default options.
- Adjusting your Path environment: Select
- After installation, follow the First Time Git Setup Guide if this is the first time you are using Git.
- Shehzan’s preferred installation options (other than defaults):
- Install Visual Studio 2022. We recommend (but not require) that you wipe out any old versions of Visual Studio (2019 and below). See Visual Studio Uninstaller for help.
- Visual Studio 2022 (Community Edition) is no longer offered publicly by Microsoft. Meanwhile, Visual Studio 2026 does not yet fully support CUDA. If you do not already have VS2022 installed locally, you can still download the executable directly by clicking here.
- Alternatively, you can download VS2022 Enterprise from Microsoft Azure for Students.
- Once in the installer, do the following
- Under the
Workloadstab, selectDesktop Development with C++. This will select almost everything you will need. - Under the
Individual Components Tab, make sure these packages are selected. DO NOT uncheck everything else.- MSVC v143 - VS 2022 C++ x64/x86 build tools
- C++ ATL for latest v143 build tools (x86 & x64)
- Windows 11 SDK (10.0.22621.0)
- Windows 11 SDK (10.0.26100.7705)
- Windows 10 SDK (10.0.19041.0)
- Under the
- Install the latest version of CUDA (minimum version CUDA 13).
- Install Nsight Compute, Nsight Graphics, and Nsight Systems from https://developer.nvidia.com/nsight-tools-visual-studio-integration.
- Install CMake 4.x. Windows binaries are under
Binary distributions. - Install the latest Visual C++ Redistributable. This single “v14” package covers Visual Studio 2017 through 2026. On the linked page, download the X64 package under
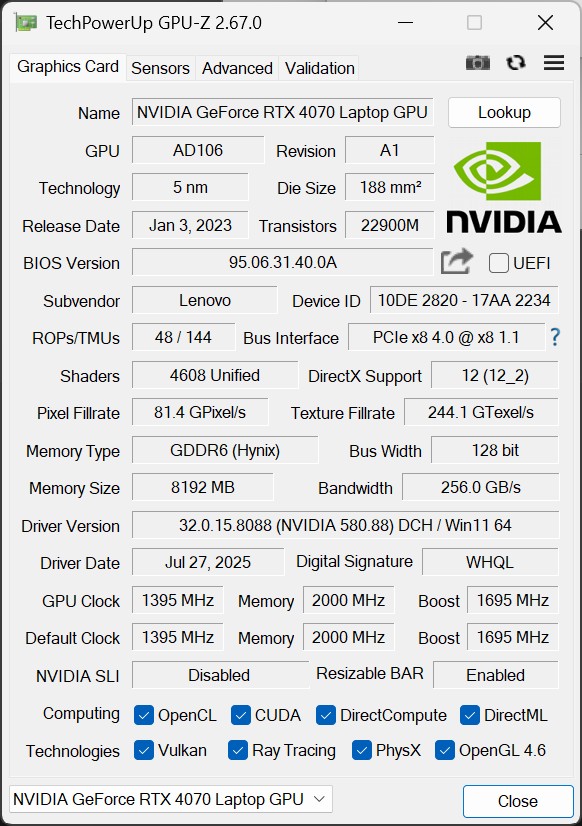
Latest supported redistributable version(older 2015/2013 packages listed under legacy versions are not needed). - (Optional) Download GPU-Z. You can either install it, or run it as a portable executable. This provides useful information about your GPU and technologies it supports.
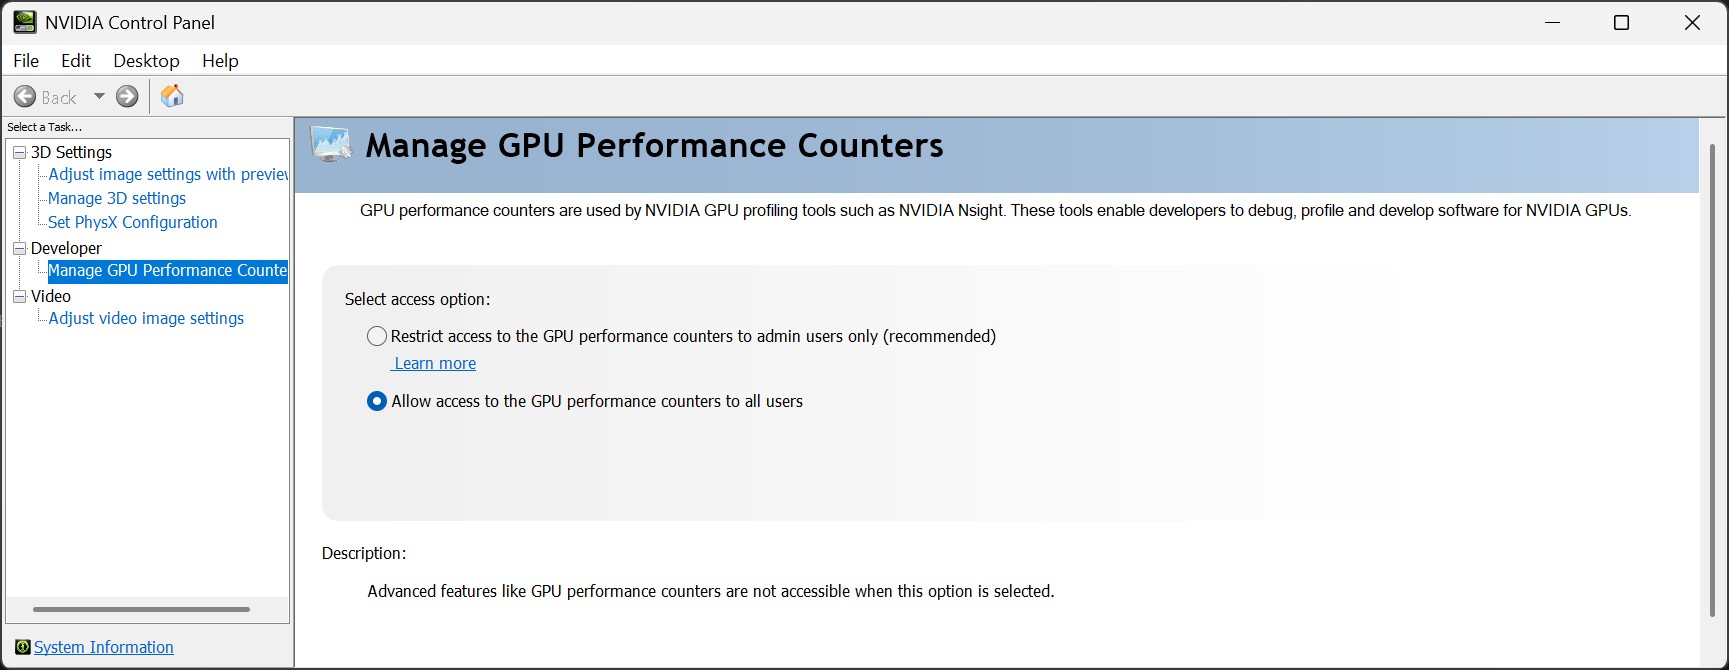
Enable GPU Performance Counters
When running profiling, the Nsight tools need access to systems level counters to trace the performance. There are two options to do this:
- Run the program as admin, which is tedious to set up each time.
- Enable Performance counters using NVIDIA Control Panel (Recommended).
The steps to enable this are:
- Open NVIDIA Control Panel. This can be done from the start menu, the taskbar NVIDIA icon, or Control Panel.
- On the menu bar (top), select
Desktop -> Enable Developer Settings. - On the left side panel, you will now see
Developer -> Manage GPU Performance Counter. Change the option toAllow access to the GPU performance counters to all users.
See NVIDIA Documentation for more.